Skip to content
Skip to footer
Information
Posts
Challenges
FAQs
Knowledge Base
Hunter Disclosure program
CSI Downloads
Academy
FREE: CSI Linux Certified Investigator (CSIL-CI)
CSI Linux: Investigator’s Starting Guide
CSI Linux Certification Courses
The CSI Linux Pro Shop
Swag
CSI Linux Certification Courses
Pre-Configured CSI Linux Systems
Publications
My account
Orders
Affiliate Portal
Creators Corner
0 items
-
$0.00
0
CSI Linux
A Complete Cyber Forensics Platform
Close
Information
Posts
Challenges
FAQs
Knowledge Base
Hunter Disclosure program
CSI Downloads
Academy
FREE: CSI Linux Certified Investigator (CSIL-CI)
CSI Linux: Investigator’s Starting Guide
CSI Linux Certification Courses
The CSI Linux Pro Shop
Swag
CSI Linux Certification Courses
Pre-Configured CSI Linux Systems
Publications
My account
Orders
Affiliate Portal
Creators Corner
Computer Forensics and Investigation
Incident Response
Malware Analysis
Tools
Demystifying Objdump
You May Also Like
Computer Forensics and Investigation
,
CSI Linux
,
Incident Response
Understanding Forensic Data Carving
Computer Forensics and Investigation
,
CSI Linux Academy
,
Cyber First Responder
,
Incident Response
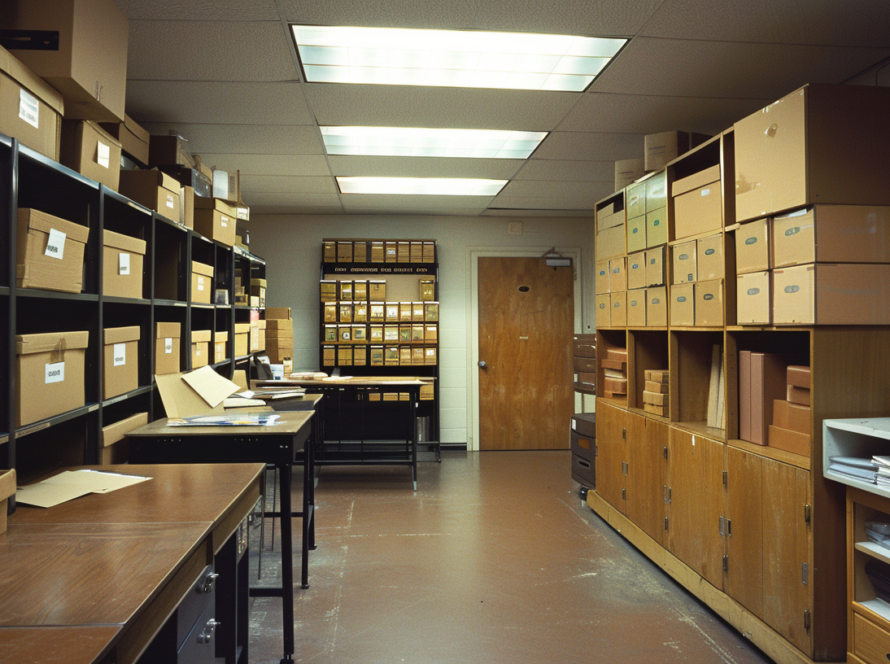
Digital Evidence Handling: Ensuring Integrity in the Age of Cyber Forensics